Robert Sorby Drill Jig Guide

Step 1:
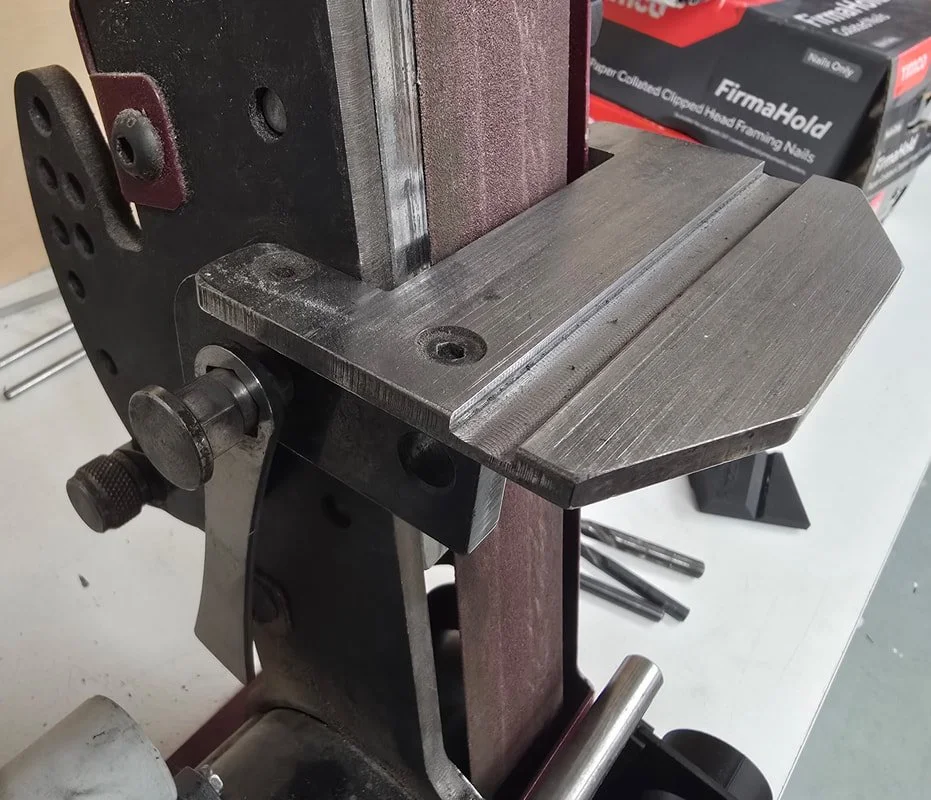
Set the table to 80 degrees
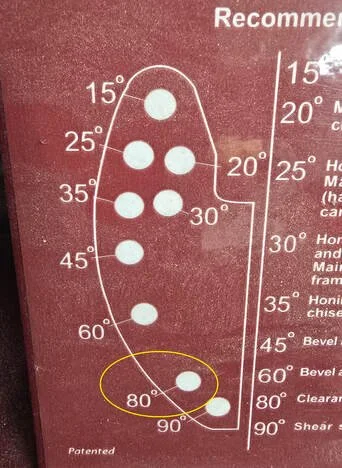
A chart showing different drill bit sizes in degrees, with a focus on an 80-degree drill bit highlighted in a yellow circle.
Close-up of a metal woodworking or machining tool with adjustable parts, set on a white work surface, with tool bits and boxes in the background.

Step 2:
​Place the Jig on the table and get your drill bit ready
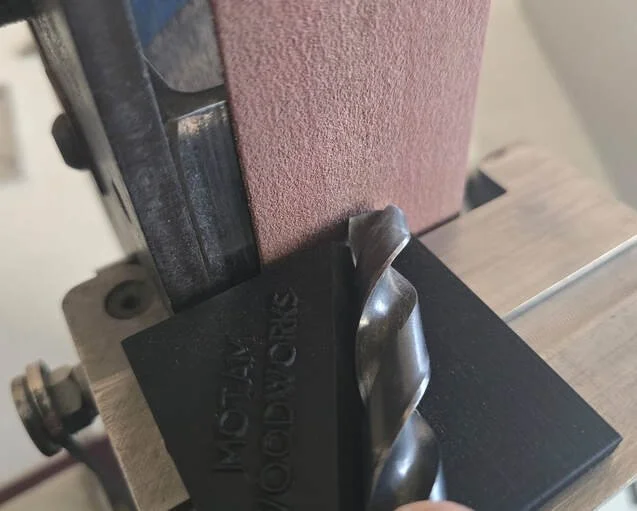
Close-up of a metal drill bit mounted on a drill press with a pink abrasive wheel in the background.

Step 3:
Place the drill bit so the cutting face is facing up. You want to align it so the cutting edge would sit flat against the belt.
This is when you apply a small amount of forward pressure, so it touches the belt and you slowly turn the bit clockwise 90 degrees (or the distance of the cutting face)
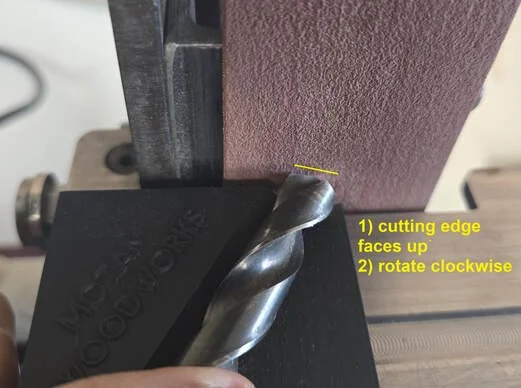
Close-up of a drill bit being used to cut the edge of a piece of wood or material, with instructions to face up and rotate clockwise.
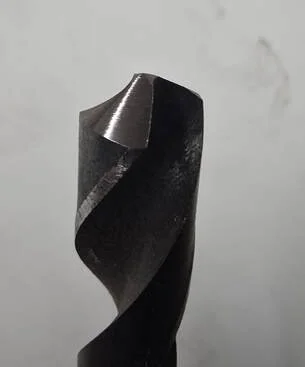
Close-up of a black drill bit with a pointed tip against a plain, light gray background.

Step 4:
Repeat step 3 for the other edge.
​Most standard drill bits have 2 cutting edges.​

Safety Information:

  • ​The jig is made of plastic and if exposed to high temperatures it will start to deform. Please use appropriate cooling when sharpening.

  • PPE is always recommended e.g. safety googles and gloves.