Robert Sorby ProEdge - Motam Woodworks Sharpening Jig
Plastic Washers:
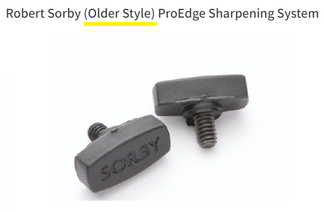
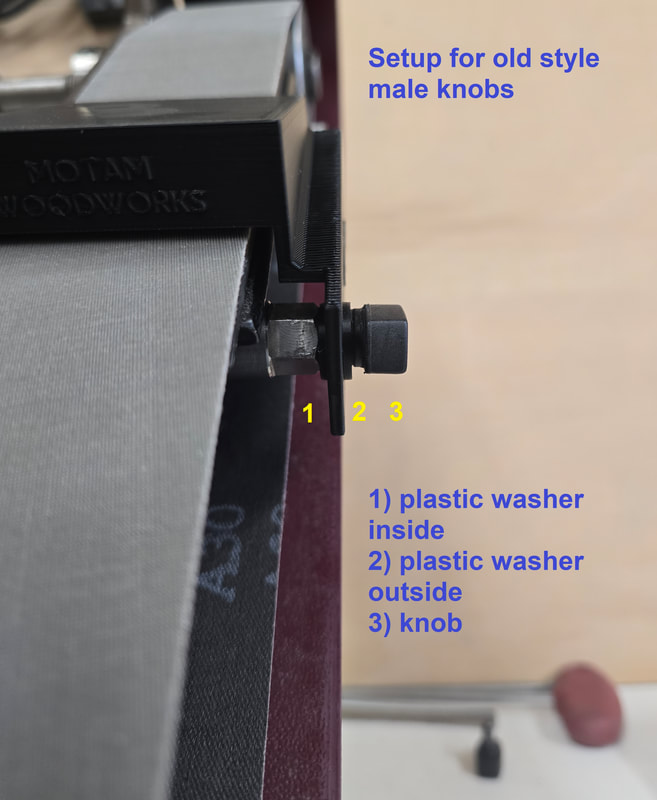
- If your machine has a male knob (old style) that is used to secure the blade guard. You can use one washer on the outside to secure the jig in place. - See below pictures
|
|
Plastic Washer - Setup without the blade guard
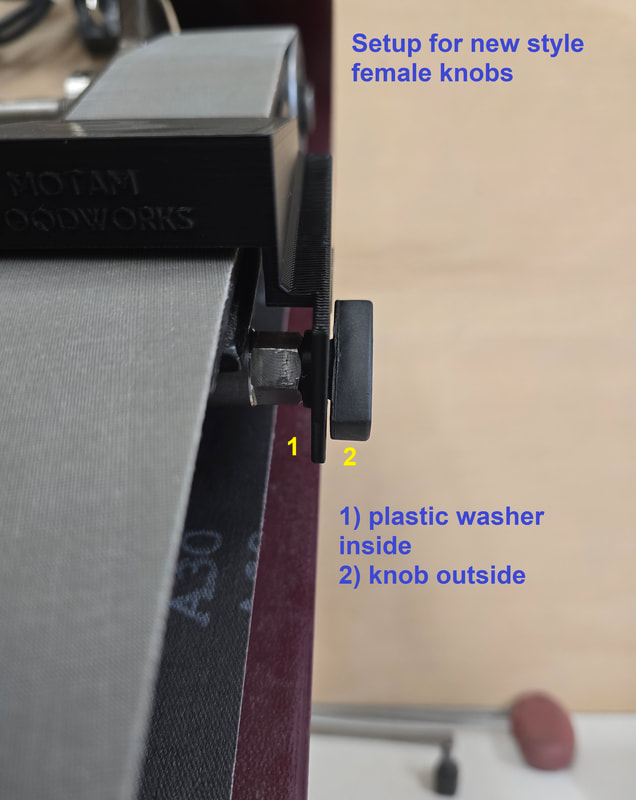
If you do no want to use the blade guard, we have provided an extra washer to help keep the jig secure. - See images for more details
We always recommended that you use the blade guard. Motam Woodworks does not assume any liability for any damage caused to the machine, jig or yourself from improper use.
|
|
Safety Information:
- When using the jig, hold the knife securely by the handle. Keep your fingers away from the blade and the sanding belt.
- There is a small (gap) either side to allow for belt movement. It is advised to check that the belt is centre to the plate before installing the jig. This should be checked between belt changes as different weight belts will need re-alignment (refer to the Robert Sorby manual for more details on belt alignment).
- The jig is made of plastic and if exposed to high temperatures will melt. Please use appropriate cooling when sharpening knives.